Updated 12/16/2024
Replacing the cabin air filter in a 2nd generation Mazda5 (2005-2010 model years) is a bit more involved than some cars where you can merely pull the filter from behind or under the glove box. There are a few Youtube videos that helped me, but I wanted to take some still photos that I thought would add some value instead of having to try and pause videos while working on the car. I purchased the EPAuto C218 (CF10218) activated carbon cabin air filter which has a very high 4.7* out of 5 reviews on Amazon. Please check if it's the right model before you order.
FTC Disclosure: We may receive compensation when you click on our links and/or purchase products linked on this web site.
Youtube tutorials:
- "How to Replace Cabin Air Filter 2009 Mazda 5 | AQ1116" by Filterheads
- "2009 Mazda 5 cabin filter replacement" by Lisu Friends
- "Mazda 5 2005 - 2008 Cabin filter replacement location how to" by Nicholas
I didn't take photos of the first couple of steps, but they are straightforward:
- Remove the passenger kickpanel (below and to the right of the center console) by pulling it out (there are no fasteners)
- Remove the plastic cover under the glove box (two clips, one on the left and right) taking note that the rear of the cover hangs on a hook in the back.
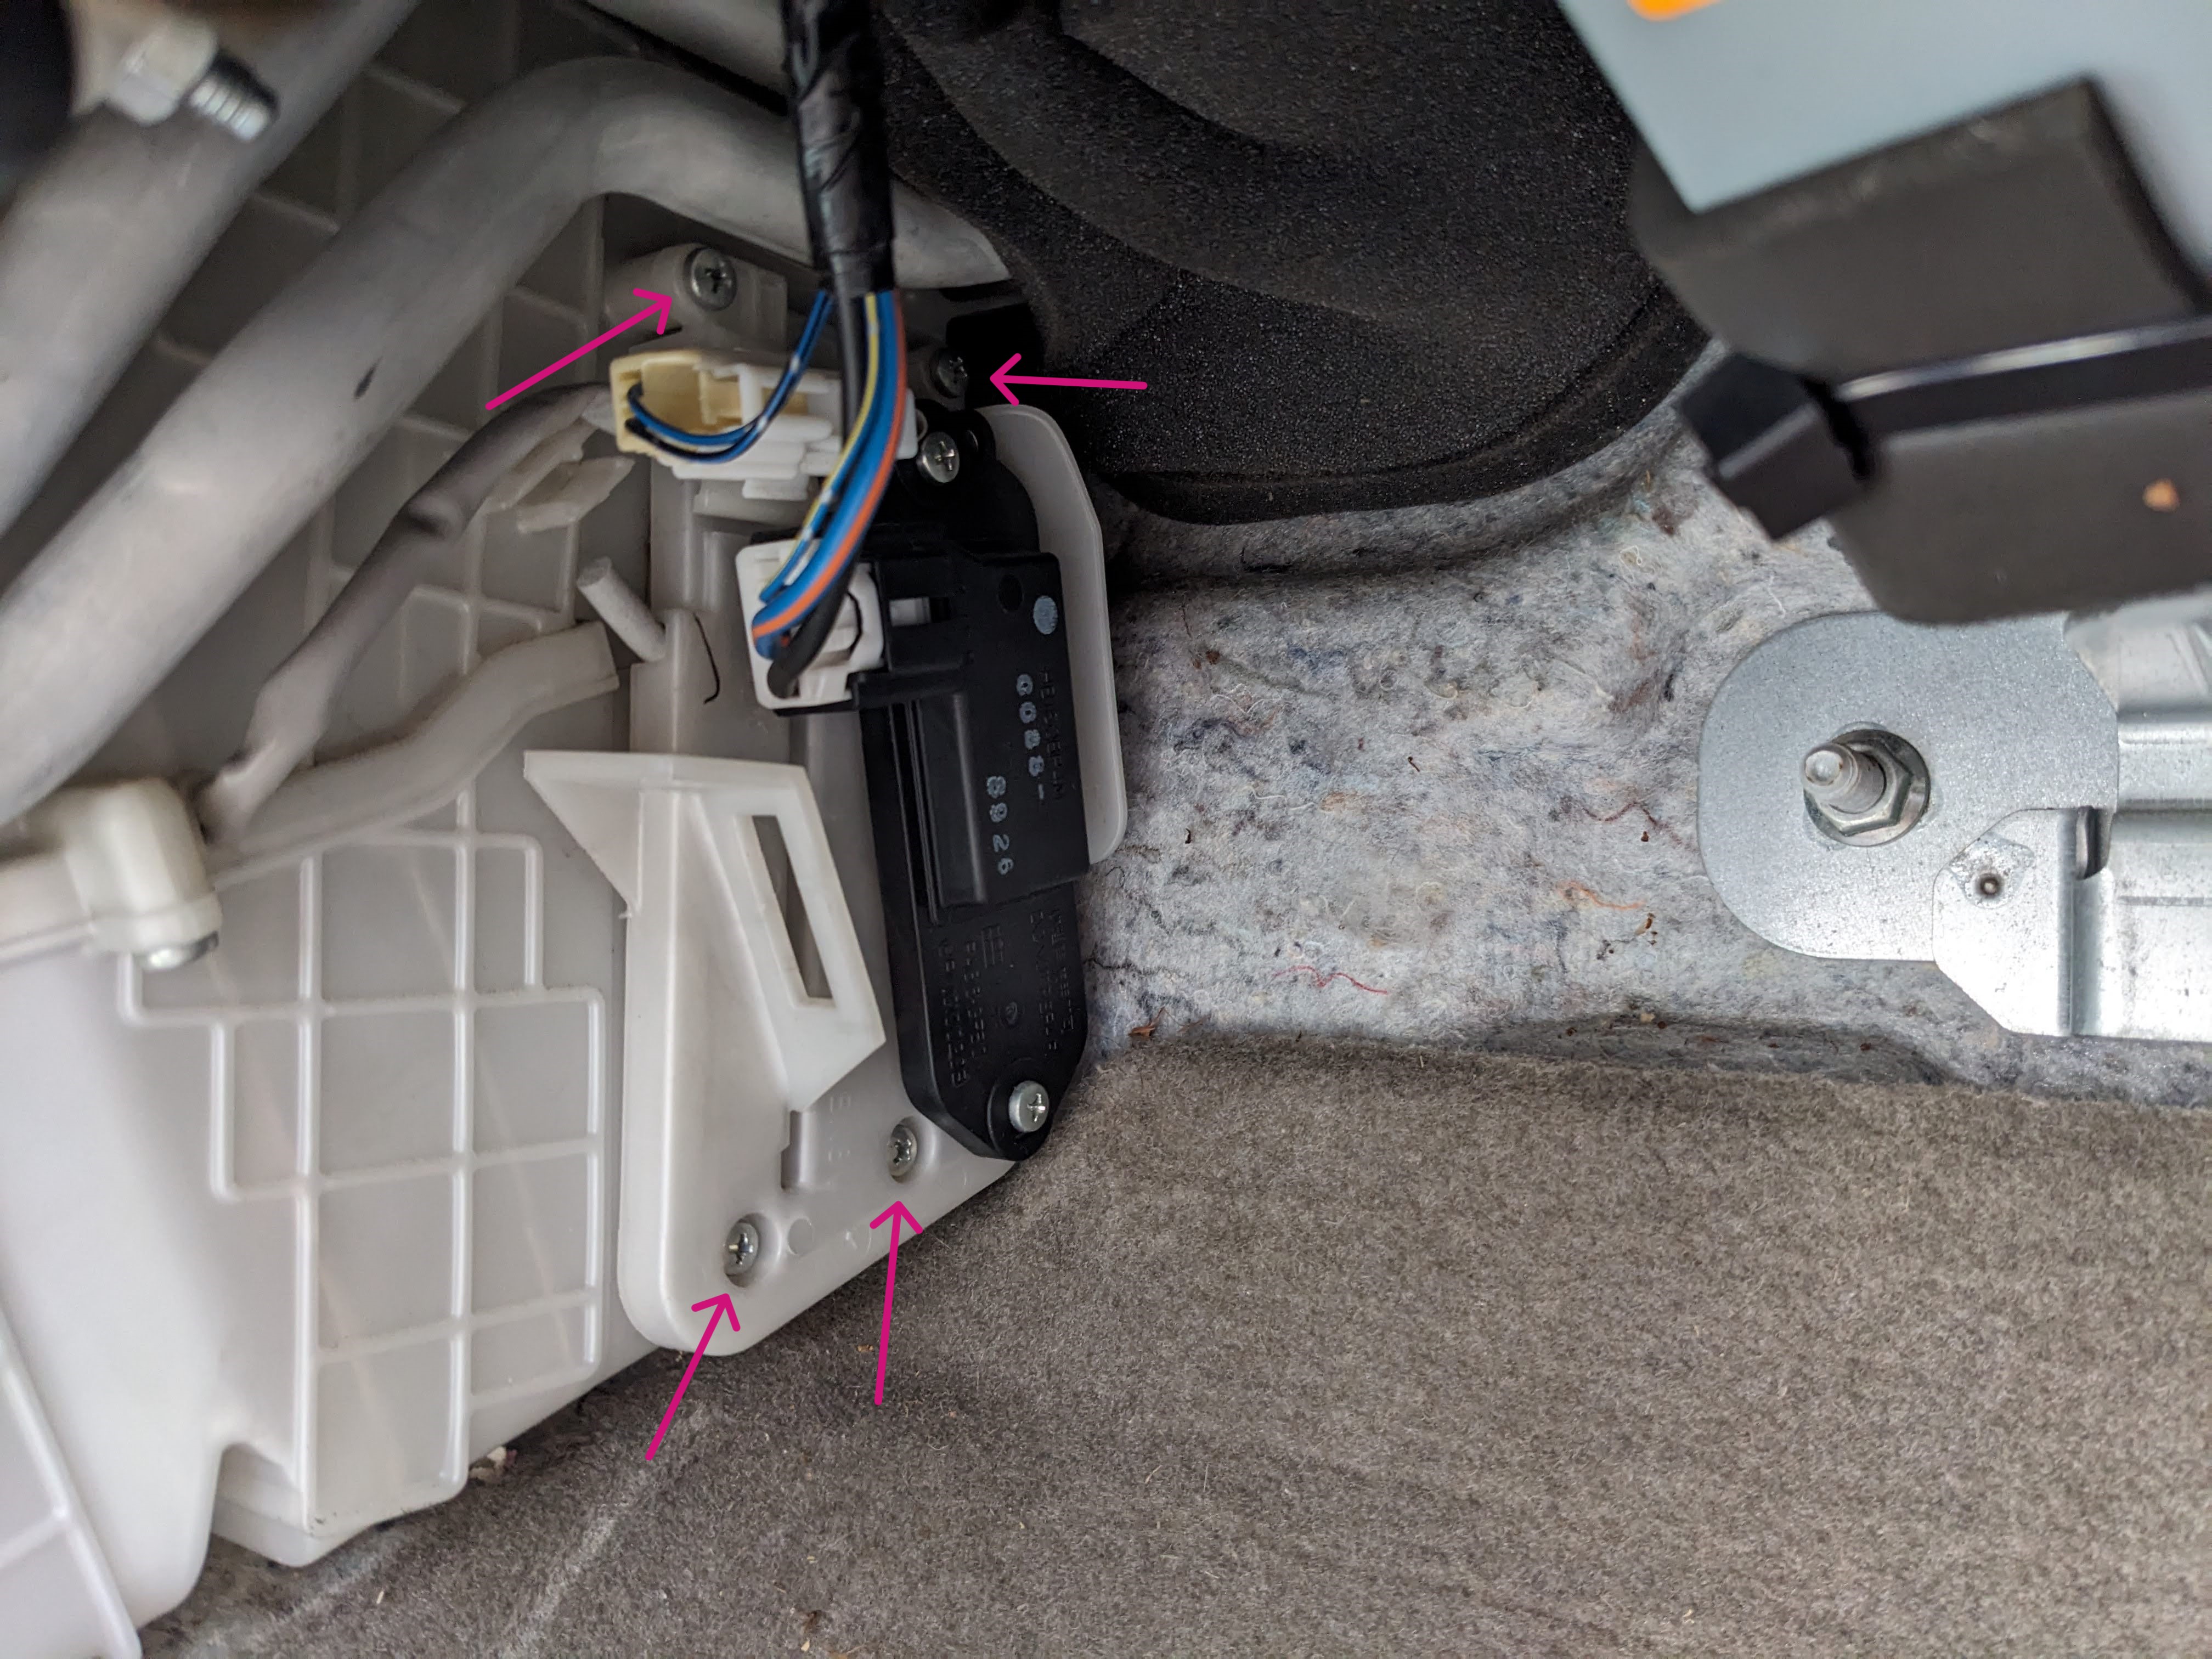
- Remove the 4 screws (Phillips head) securing the cabin air filter cover, marked by the red arrows. The top right one is harder to reach. You may be able to use a very long Phillips head screwdriver, but I used a stubby screwdriver. It may be easier to remove the small electrical connector while the cover is still screwed in. I did not need to unplug the larger connector (ok, it just wasn't coming off easily so I gave up).
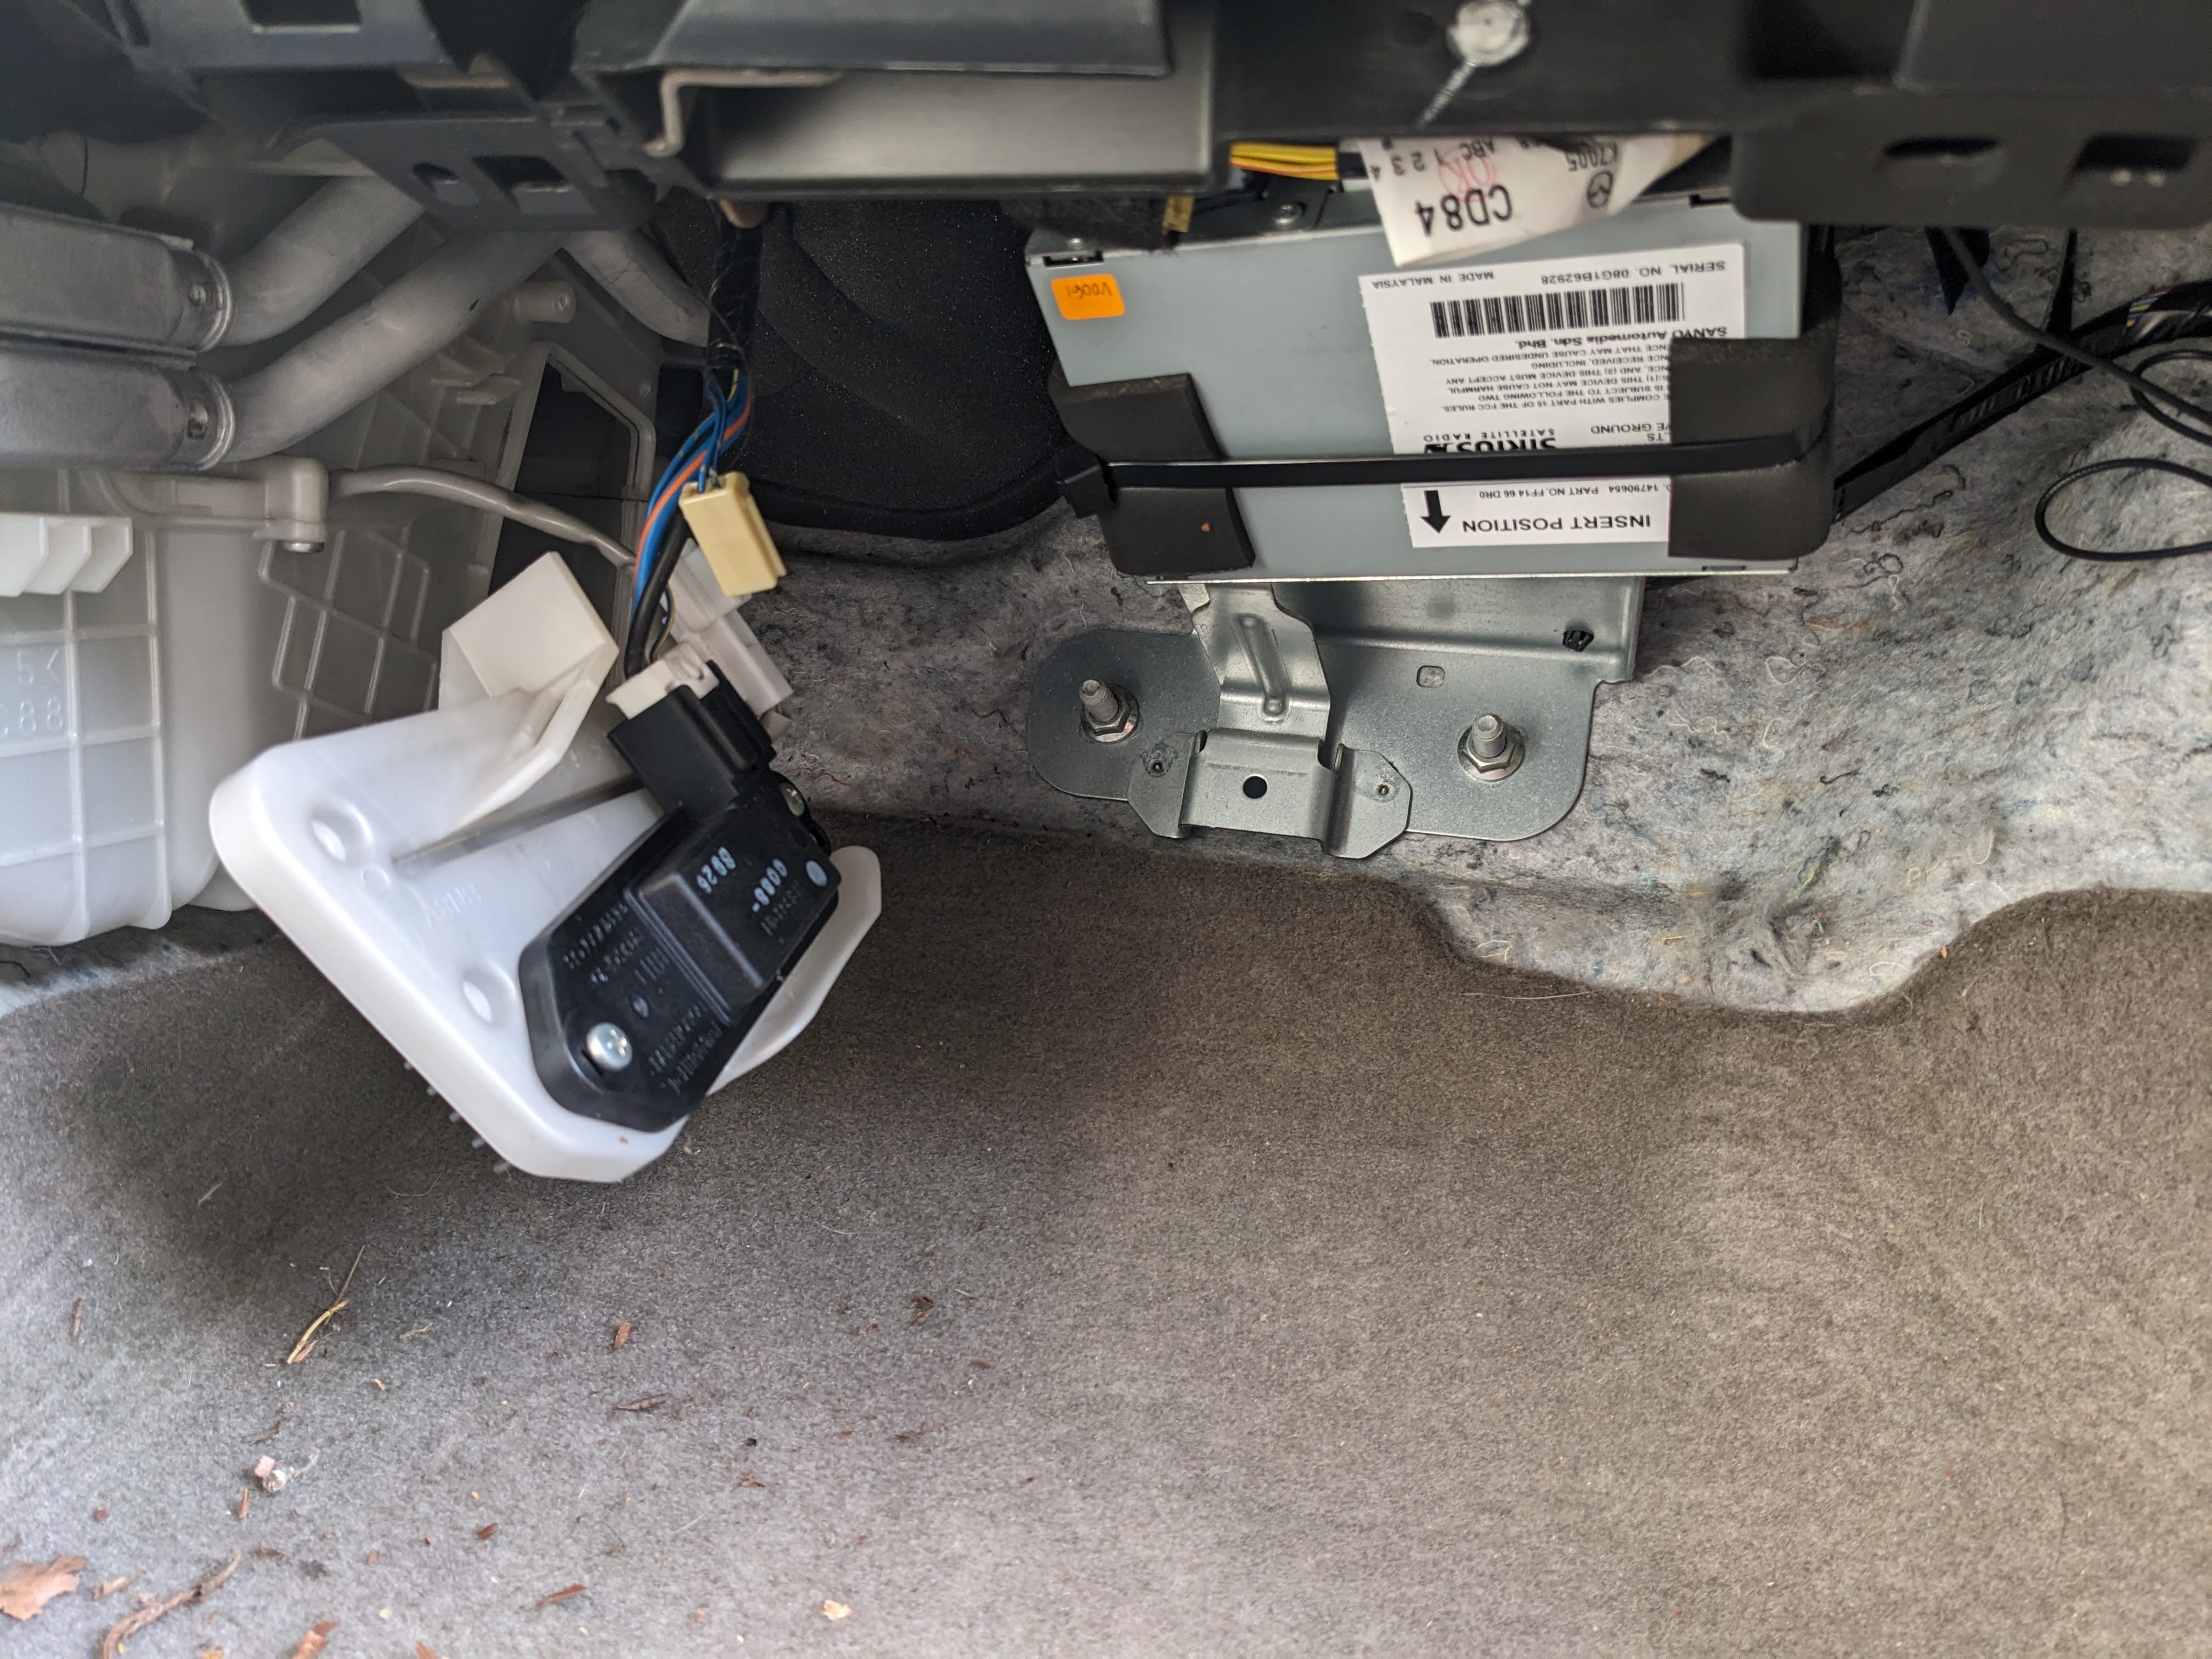
Here's how it looks with the cover off. You may or may not have the Sirius satellite radio unit in the top center of the photo.
You can perform the replacement without doing anything with the unit, but it does make clearance a bit tighter.
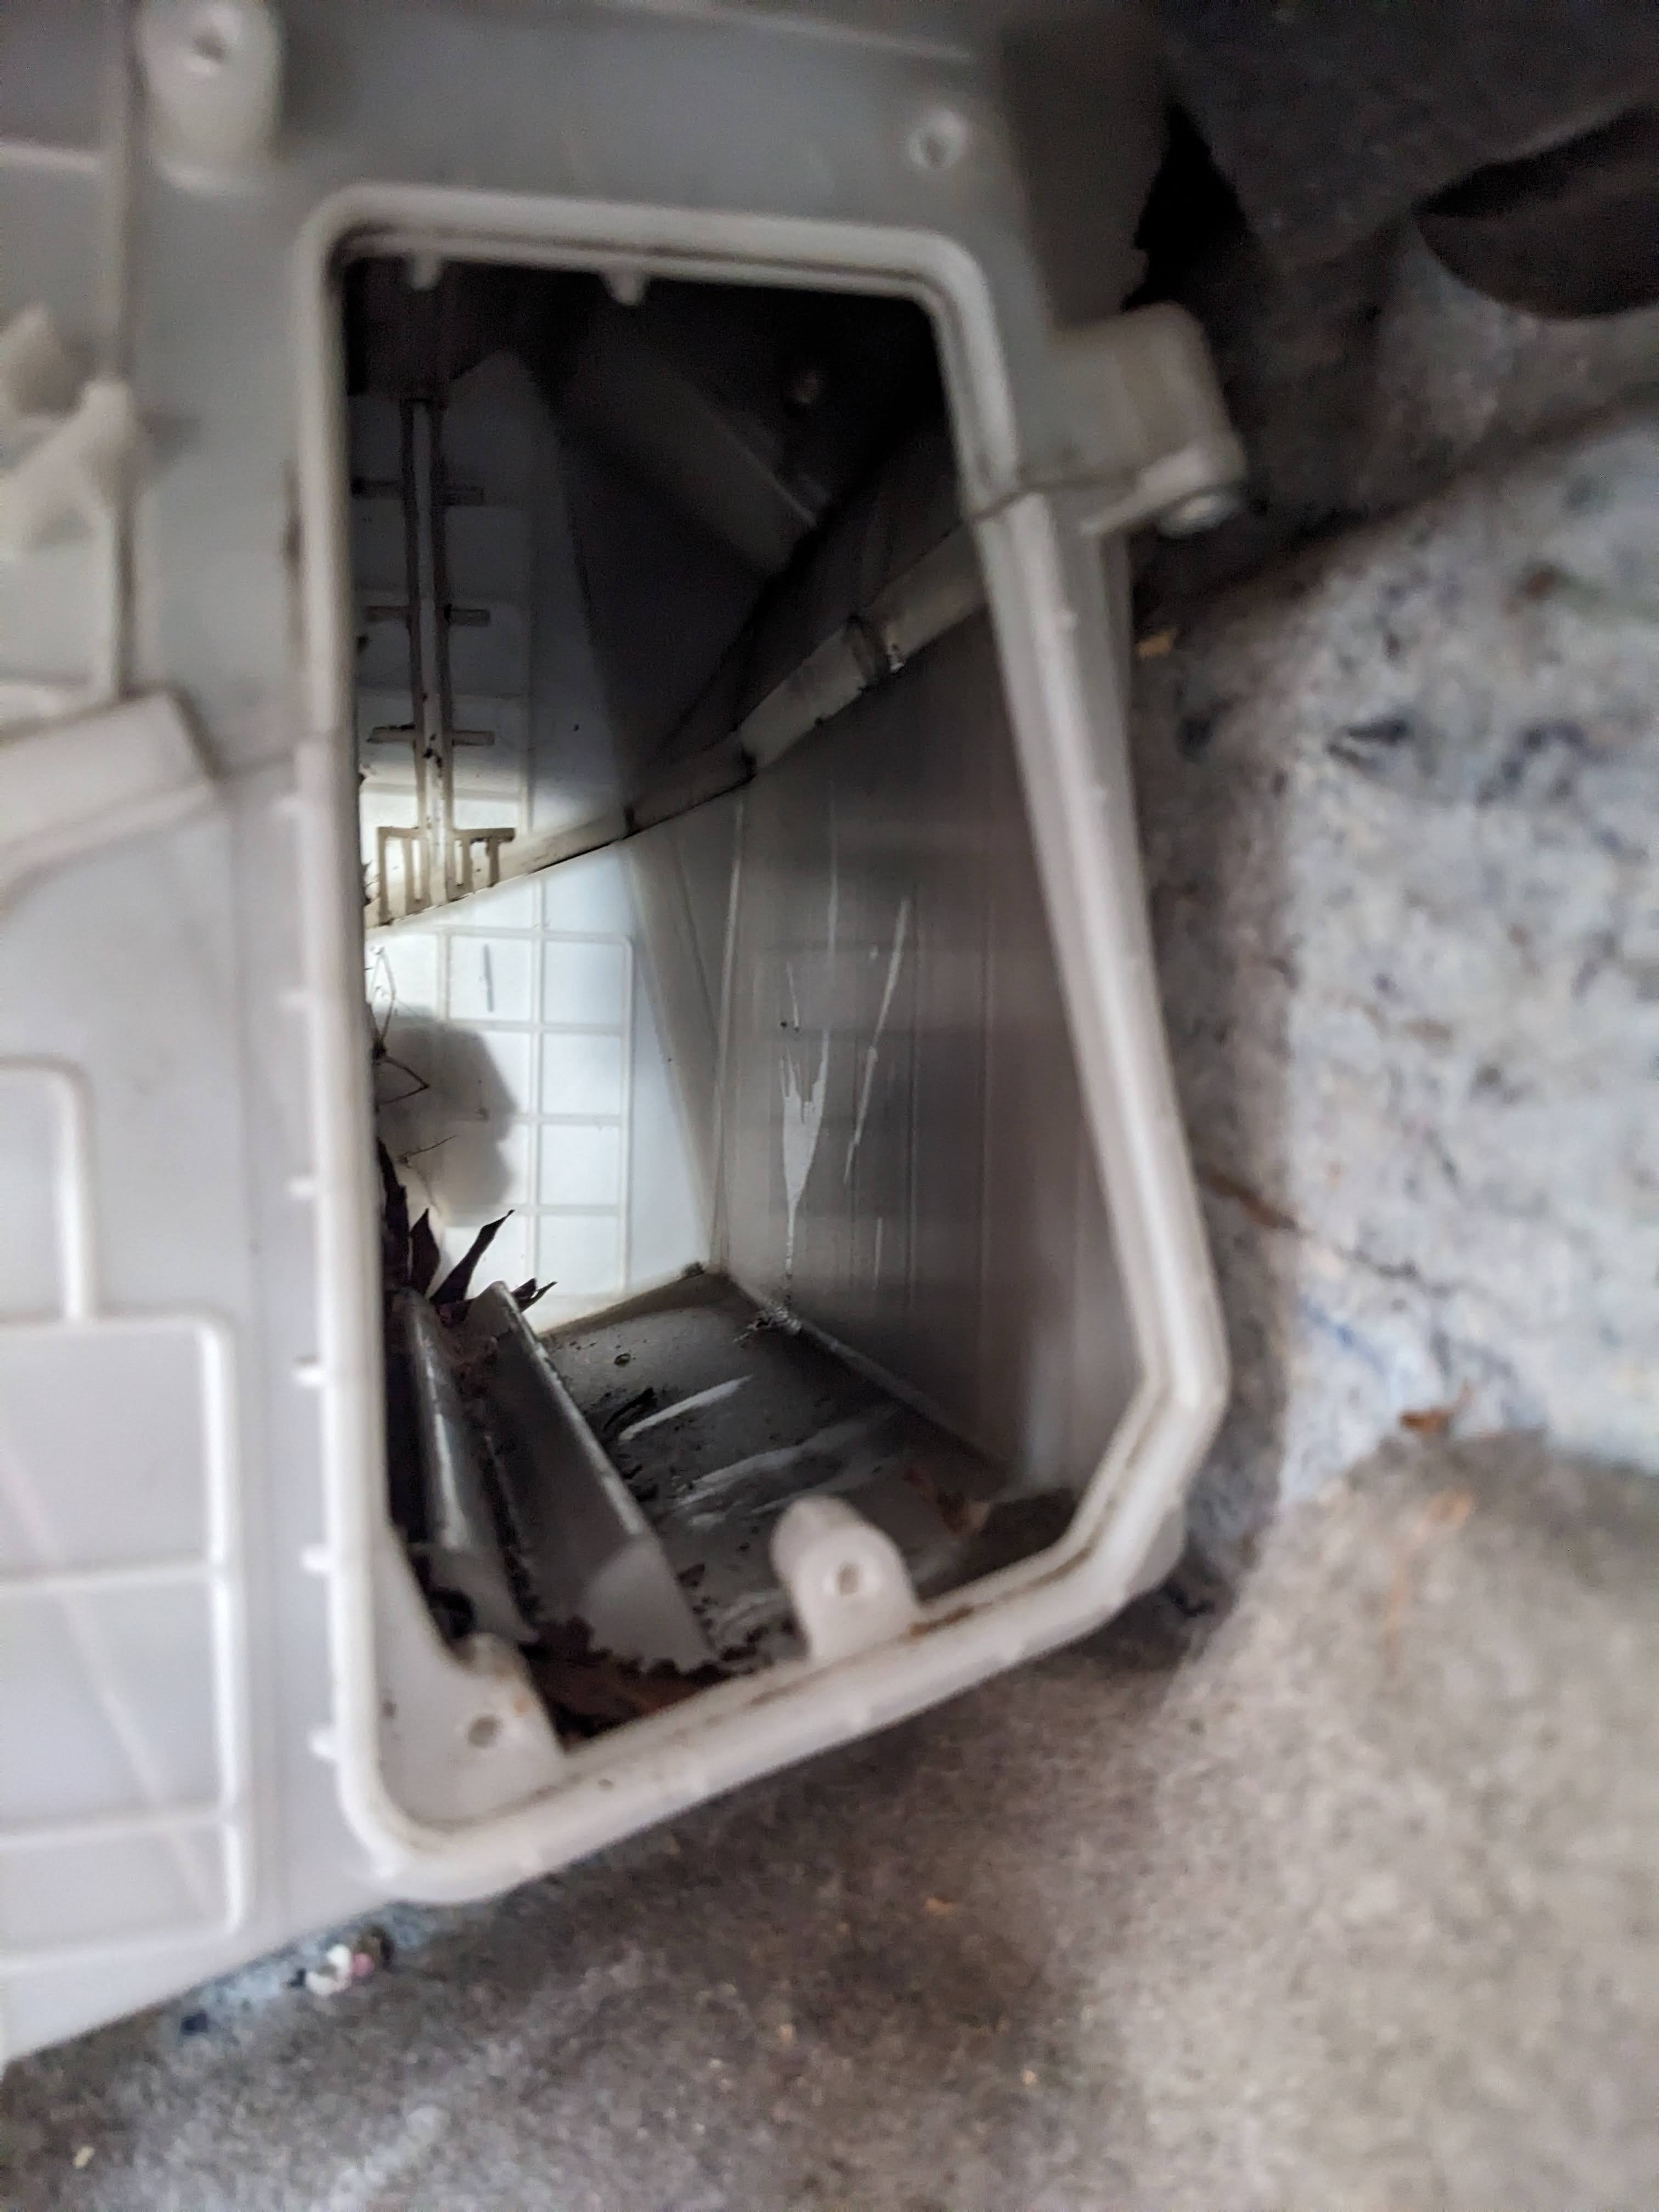
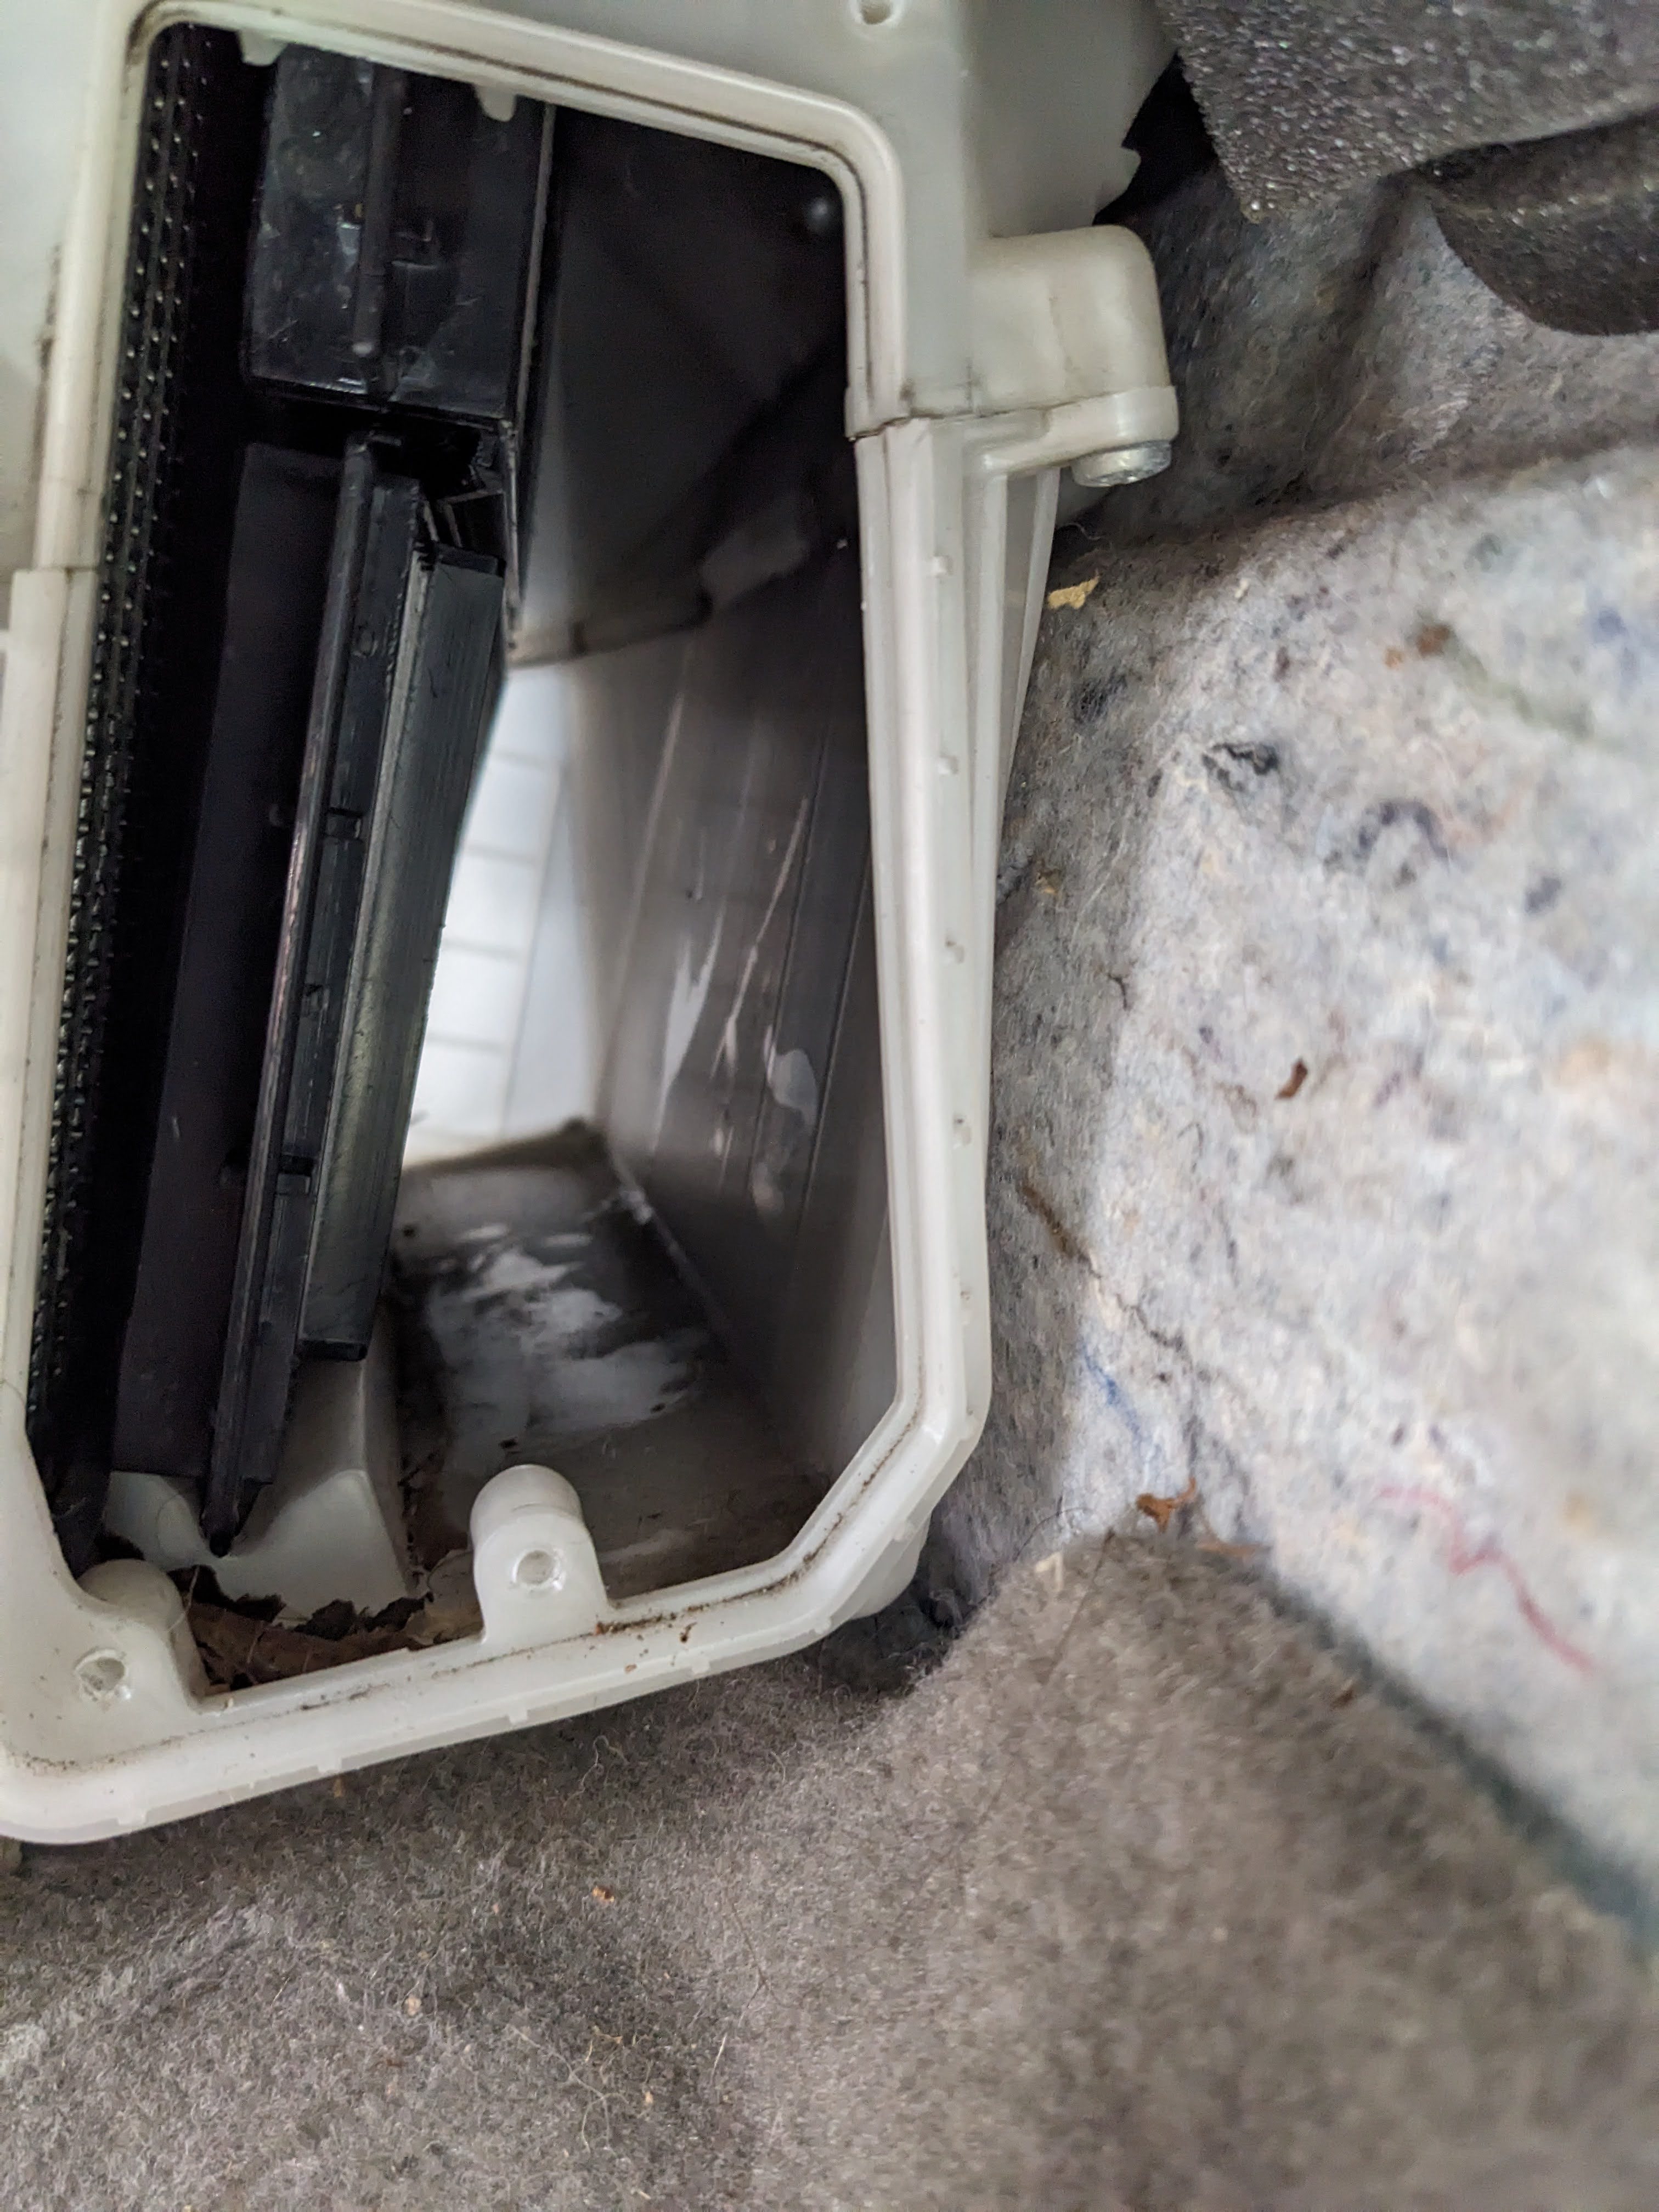
This is the view of the air filter area after the old filters (2) have been removed.
This is a good opportunity to remove any loose debris - I was able to pull out a bunch of dried leaves.
Note the channel / groove in the lower left hand corner - this is where the bottom filter needs
to slide into after you slide the top filter in.
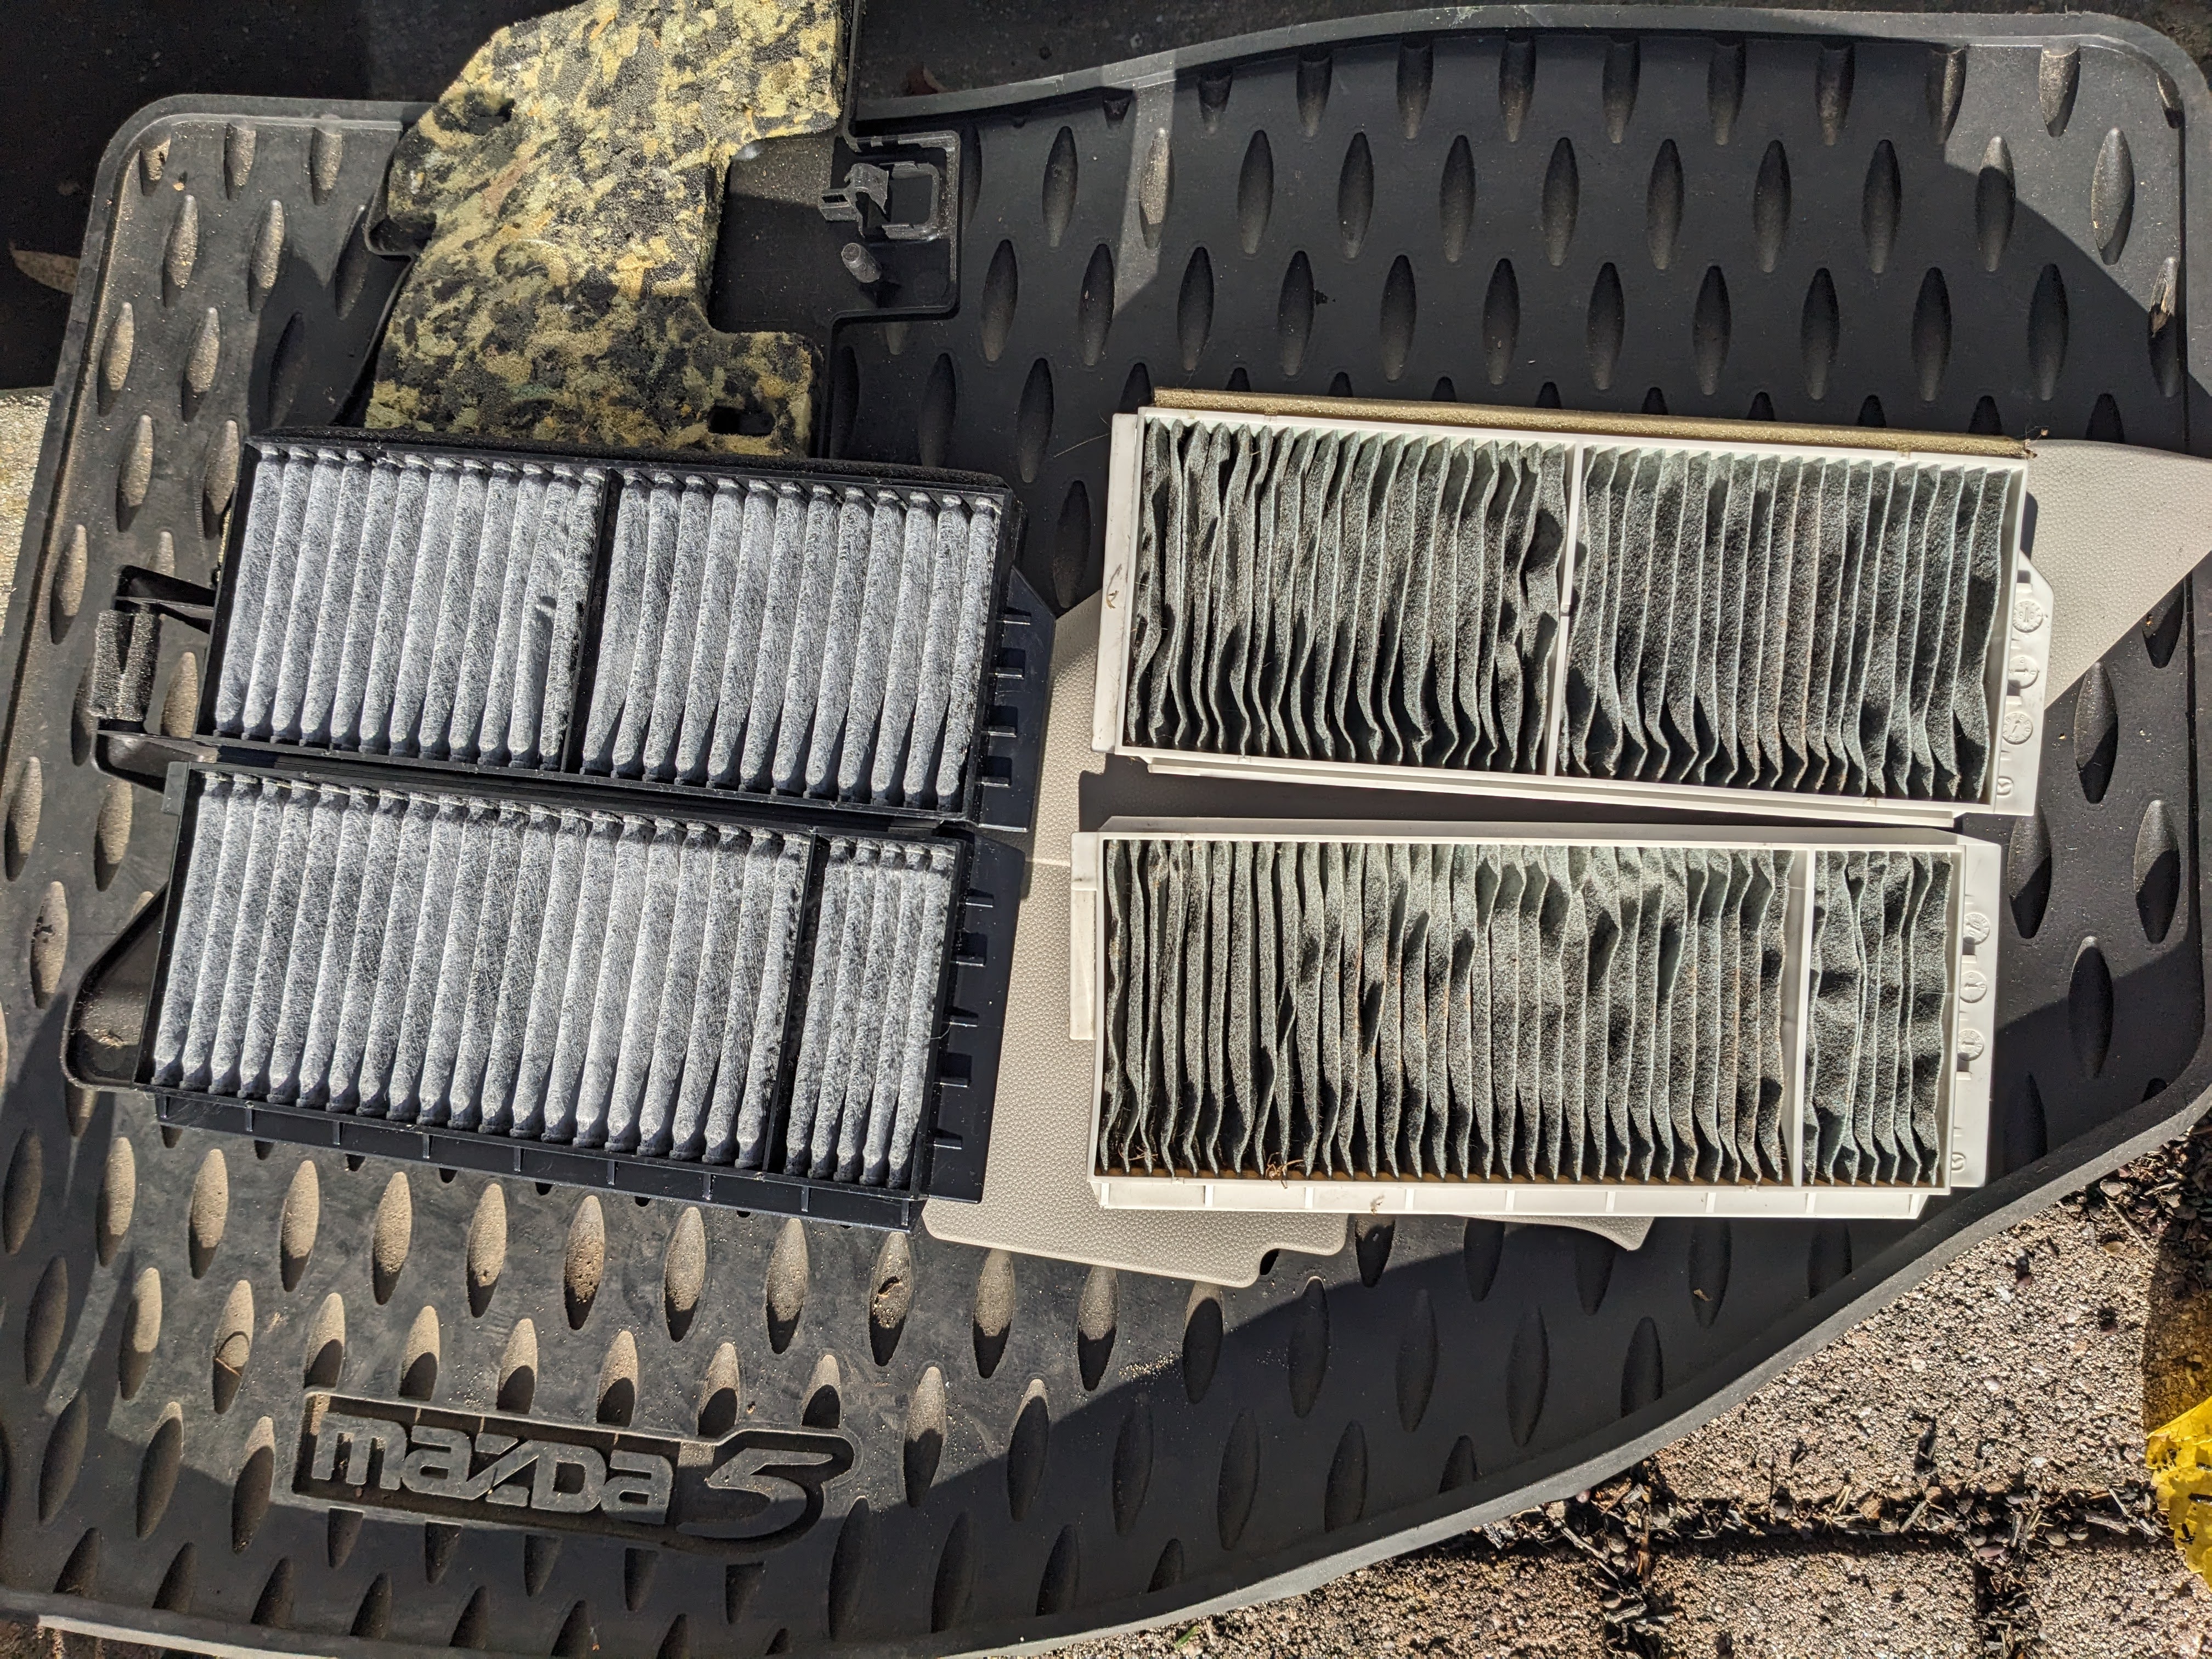
Comparison of the new filters (left) and old filters (right). The filters have plastic "holds"
where your fingers can grab onto while sliding the filters in or out. The top filter
can be identified by the slanted plastic tab.
View of the installed filters. It's a bit tricky to hold the top filter in place while sliding the bottom in.
Somehow in the first Youtube video I linked by "Filterheads", the tech is able to slide the top one in,
which seems to magically stay in place. Perhaps there's a way to get it to stay but I couldn't do it.
I had to awkwardly use one hand to keep it in place while angling to slide the other one in. This was
probably the hardest step for me.
Assembly is the reverse of the above instructions. I was very tempted to omit the top right screw for my future self, but there is a gasket that presumably keeps the cover air tight, so I screwed it back in.